
Step by step guide for Composite Product Photography | DIY Photography
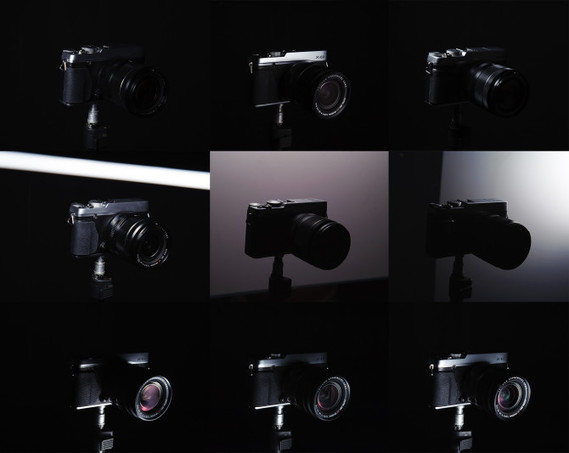
Usually, I prefer to get stuff in camera (even if it means light painting my subject). But sometimes Lighting or space limitations will make getting the picture in-camera hard or simply not worth the effort. When such situation strikes go for a composite. If you only have little gear, this technique will also help you get a more professional look in your images. To demonstrate this point, I used my girlfriends Macbook air and my Fuji Xe-2. Shooting. The actual shooting depends on how many lights you got and how many layers in Photoshop you are willing to use for the final image; it can take a minimum of 3 images up to 20 or more depending on how you light the product. I prefer moving my lights in different angles just to see the outcome and choose the best option after. The general idea is to place the camera on a tripod and make sure your product is in a static position – if either the camera of the subject move, this will not work. You can use different techniques for lighting your product but for this shoot, I just used one speedlight with a small softbox combined with an acrylic sheet for the gradient reflections………..
Source: www.diyphotography.net
Fuji X-E2
Do you love my work and want to support me? If you’re planning on buying camera gear, you can check out above-noted links. Prices remain the same for you, but a small percentage of your purchase value is valued back to me. Thank you!