
House of Sages | Gene Lowinger
A little more than three years ago, before I restarted my documentary work on the Lower East Side, I took a walk through the neighborhood. I happened to meet this rabbi standing outside the House of Sages on East Broadway. Read more …
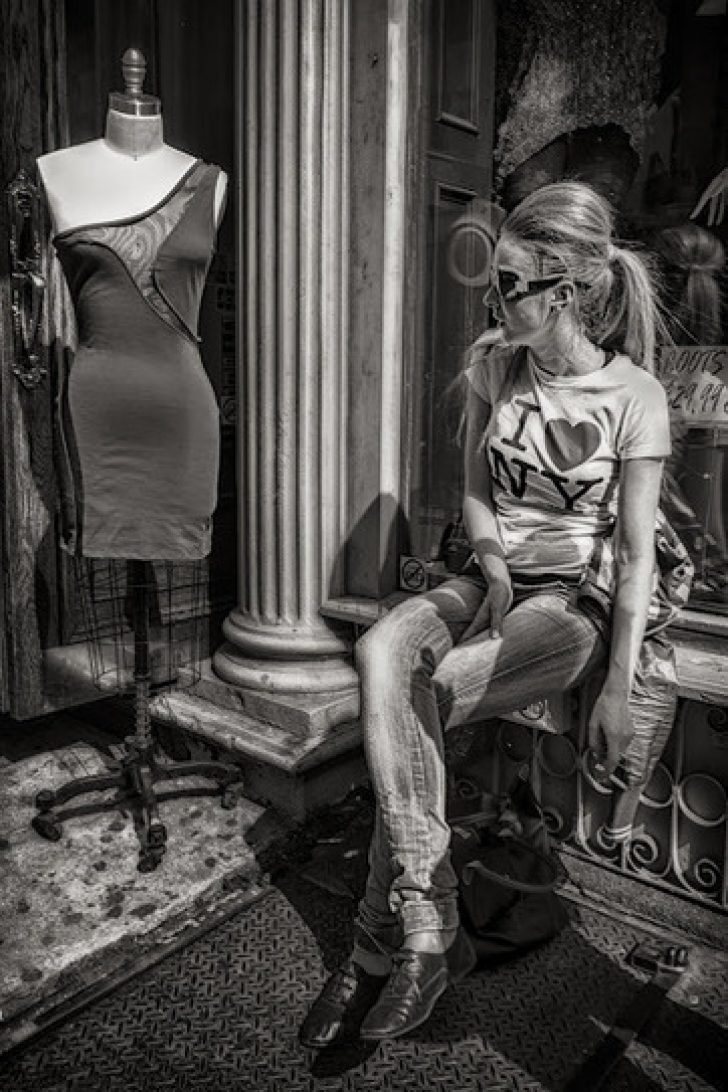
The World As I See It: How The XP1 Is Making Me A Better Photographer | Gene Lowinger
See on Scoop.it – Fuji X-Pro1 I’d like to start today’s blog with a quote from Magnum photographer Alex Webb, talking about his work: ‚Luck – or perhaps serendipity – plays a big role … But you never know what Read more …