Fuji Colour Profile Presets for Lightroom to help speed up your
workflow | Thomas Fitzgerald
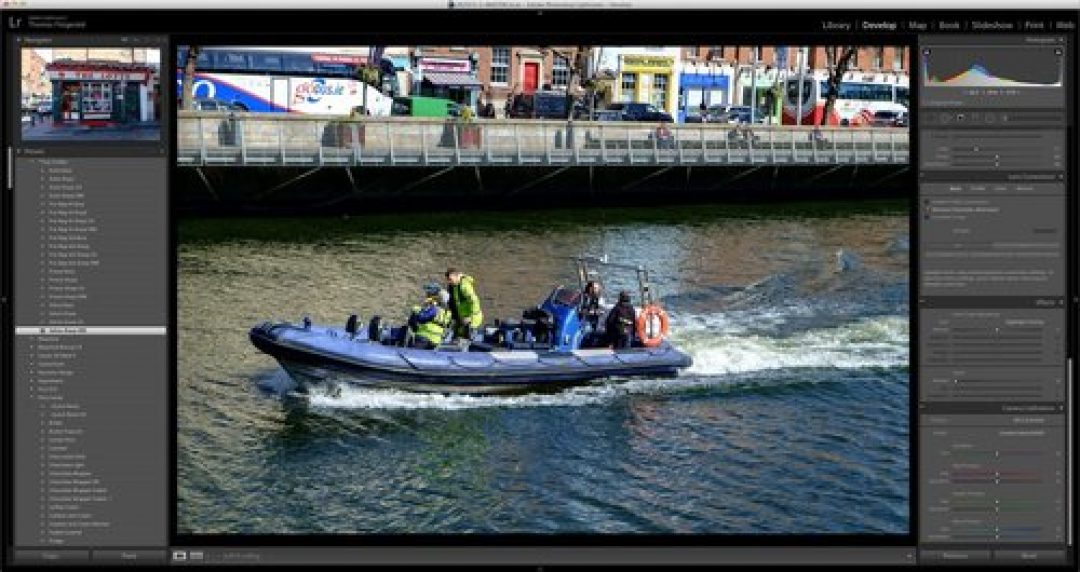
Now that Lightroom has added colour profiles for Fuji’s x-series of cameras, you may want to use them regularly in your processing. Rather than having to go down to the calibration menu each time and find the profile in the list (which can be quite long if you have VSCO installed) I’ve created a set of presets for each of the main profiles. This way you just have to click on the relevant preset. To take it a step further I’ve added a few variations of each one for common tasks, again to help speed up ones workflow. The four variations are:
- Base: Just the profile applied
- Sharp: With added sharpening from my Fuji sharpening presets.
- Sharp CA: With sharpening and Chromatic Aberration reduction turned on.
- Sharp DRE: With all of the above, and some highlight and shadow manipulation as well as some tweaking of the tone curve and clarity for a little extra oomph.
I’ve just created versions for the colour looks. I haven’t done the black and white ones, because personally, I have better ways to make black and white images. These are just workflow tools to help you get started, they’re not meant as magical fixes for your images…….
